Written for Blender 2.74
Download the basic version of the completed tree here.
Download the scene above here. (High poly count)
Textures used in this
tutorial can be found from cgtextures.com
and are not included with the .blend files
In this tutorial we'll go over the process of taking a complex model outputted from a tree generator such as Blender's Sapling addon and creating a snow model to coat it, without modeling the snow manually. We'll also get to use a few of the less commonly used nodes and modifiers in Blender that you may find useful in other applications besides adding snow. Specifically, we'll get to see one way of using the:
- Geometry node
- Separate XYZ node
- Mask modifier
- VertexWeightMix modifier
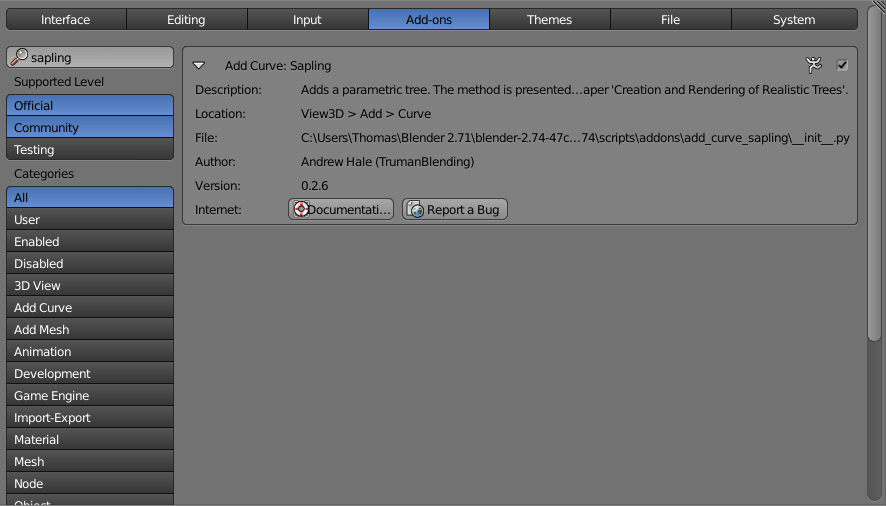
- Enable the Sapling addon under user preferences.
- Switch the renderer from Blender Render to Cycles Render
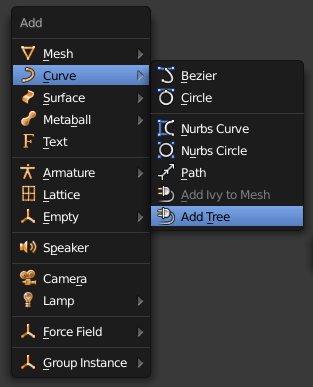
- Add a Sapling Addon tree to the scene.
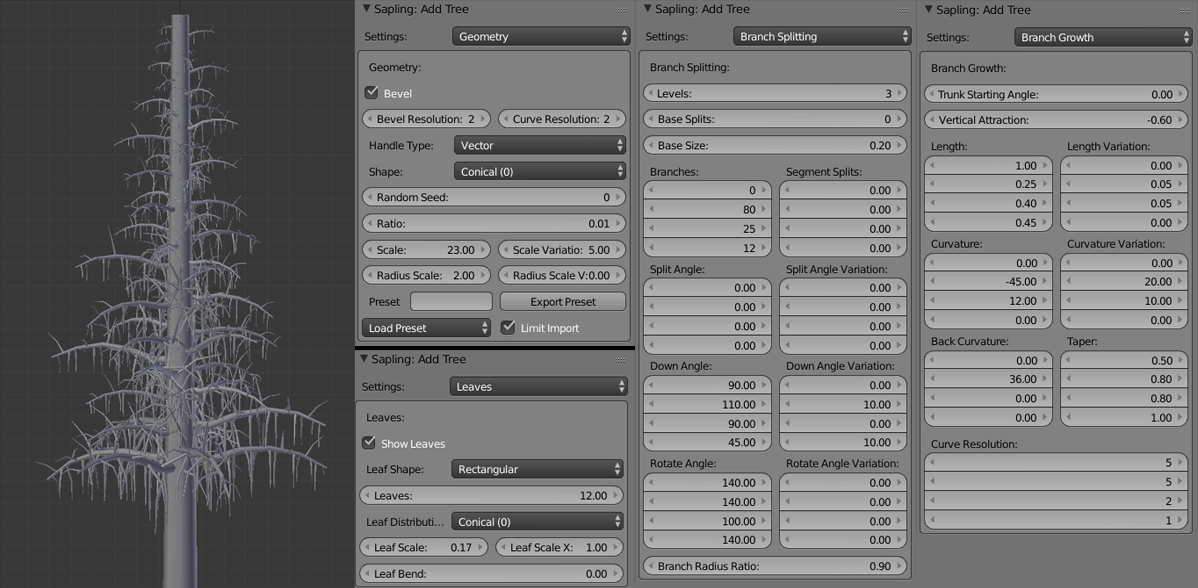
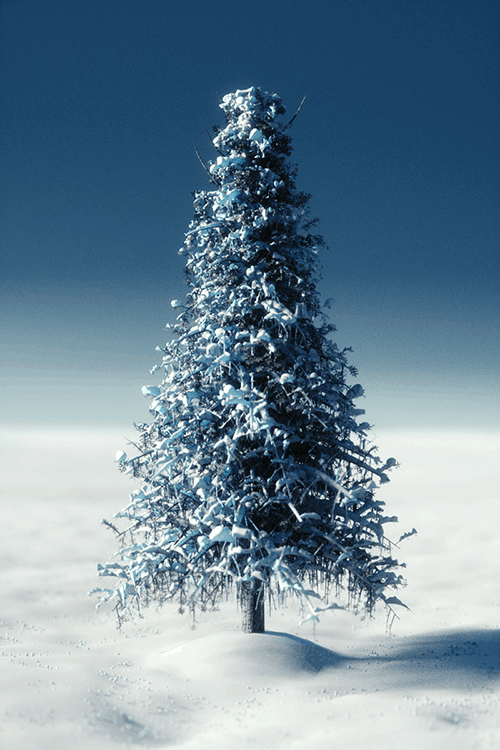
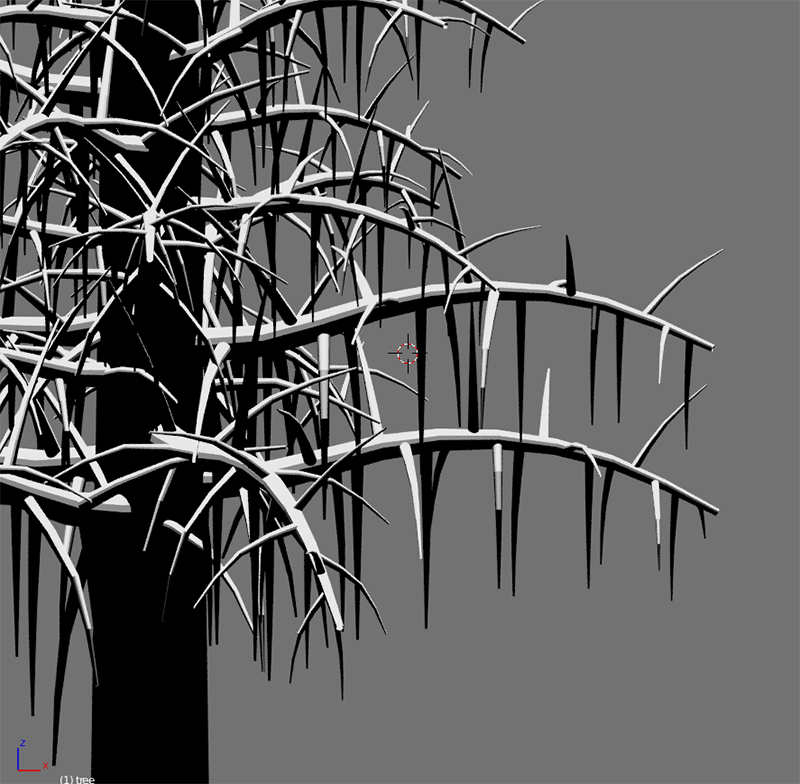
- The above settings resulted in a reasonable looking snow-covered tree
Generating the Snow Mesh
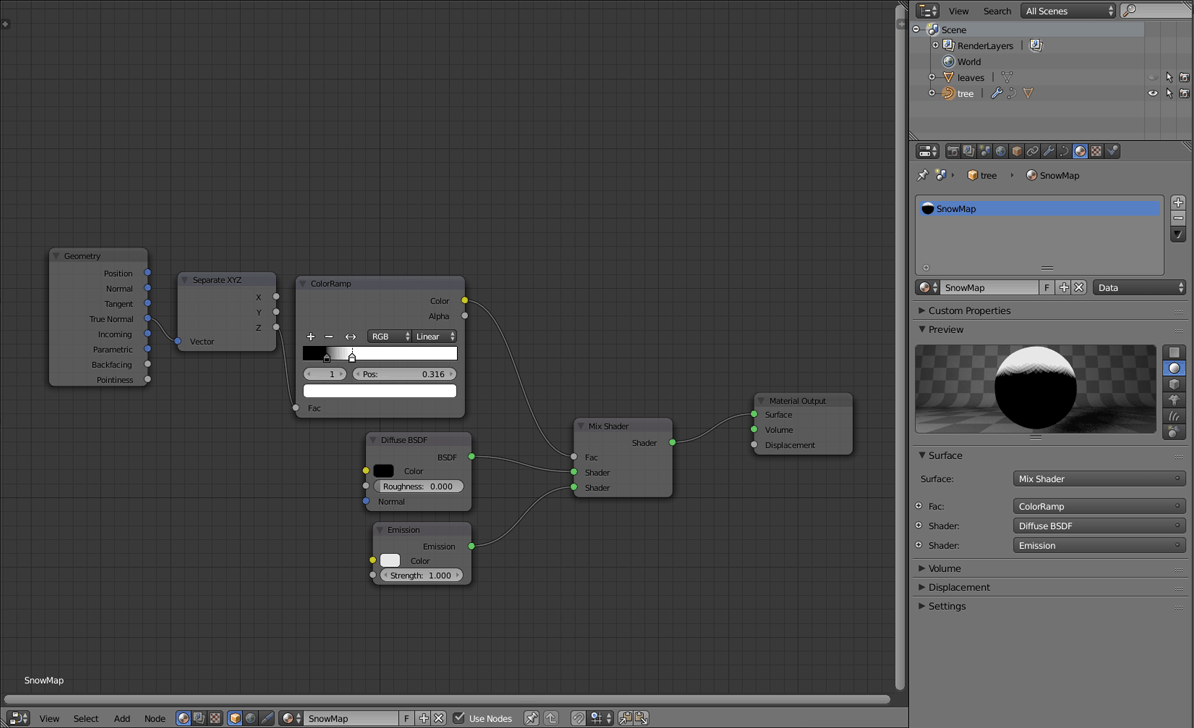
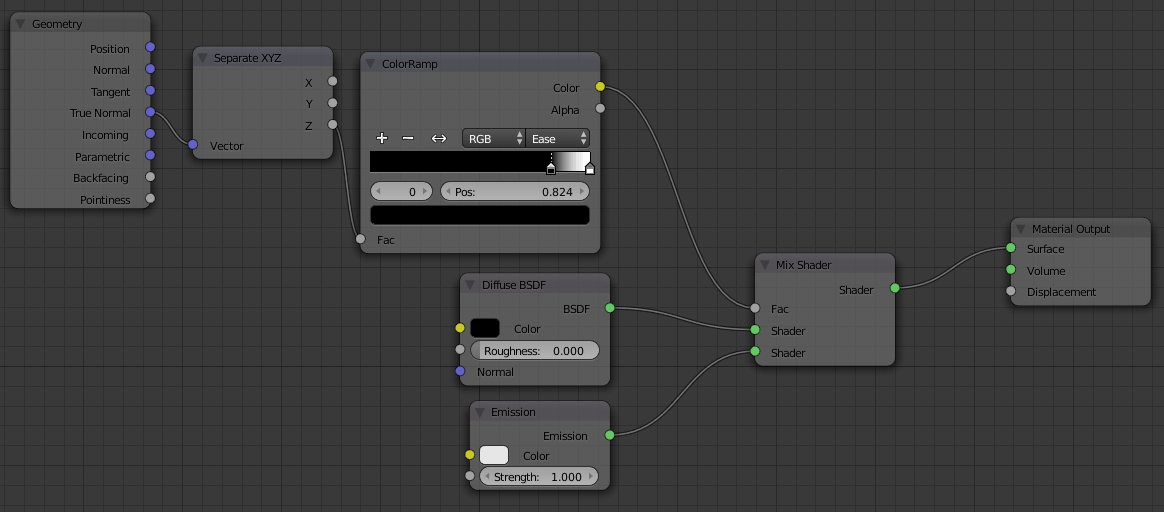
- Add a new material to the tree and set up the material nodes as shown.
- The geometry and separate XYZ nodes will result in the faces with normals pointing upwards being differentiated from the rest. We will later use this to generate the snow since snow will be resting on only the top-facing parts of the tree.
- The color ramp will allow us to adjust the effect.
- The diffuse and emission shader will help us to see the effect in preview renders so that we can see what we are doing.
- Switch the viewport shading to "Rendered".
- Adjust the color ramp so that the model looks similar to the above.
- We will use the material to separate a part of the tree for snow to be its own mesh, so anywhere that should have snow should be solid white. Avoid grays much as possible at this stage.
- The trunk of the tree will remain black since its normals do not face upward.
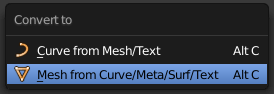
- Select the tree, turn off any subsurf modifiers, and convert it to a mesh.
- You may want to duplicate the mesh and move it to another layer as a backup.
- Select the leaves and hide them (hotkey H)
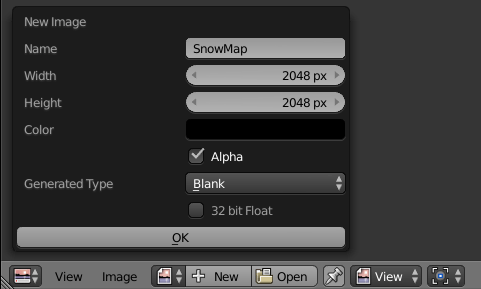
- Open
the UV window, add a new image and
give it a name.
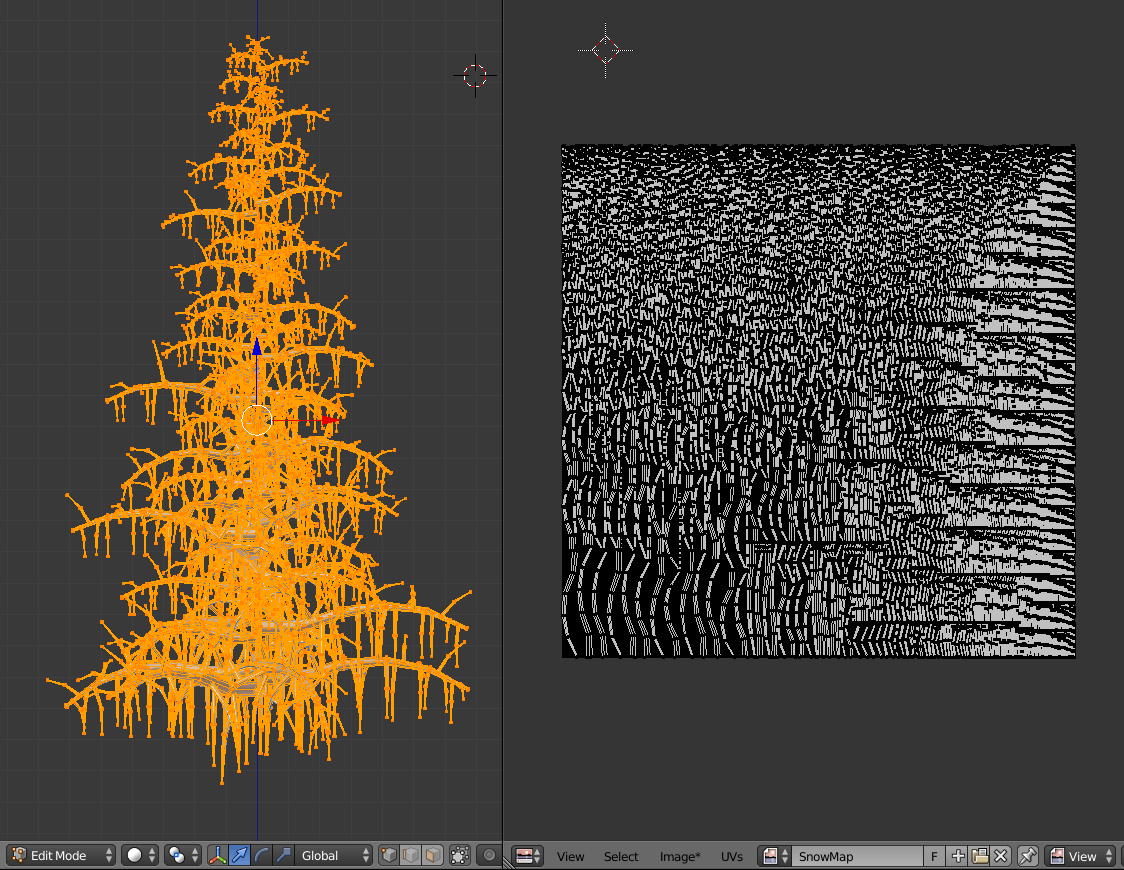
- Select the tree trunk and separate it from the rest of the tree (hotkey P > selected).
- This will save UV space and allow more accurate displacement for the snow.
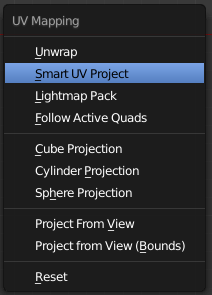
- Go into edit mode and unwrap the tree with Smart UV project as shown above.
- Go into the node editor for the tree material
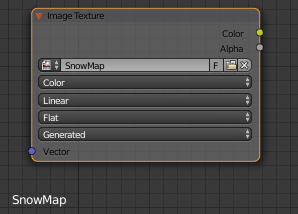
- Add a new image texture and assign the image that we made earlier.
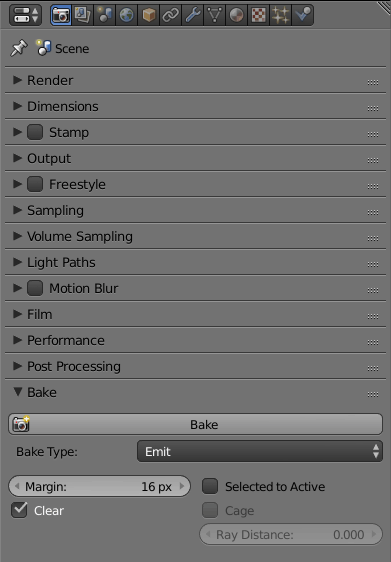
- Select the image texture node and then go to the properties window.
- Change bake type to Emit.
- Click bake.
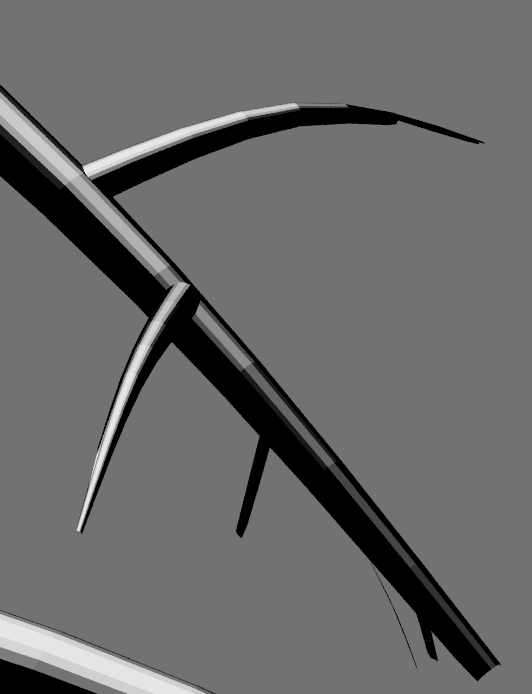
- This will take the black and white material and bake it into an image that we can then use to make the snow mesh.
- The emission material will appear as white, while the diffuse material will appear as black.
- The result of the bake should look similar to the above right.
- Duplicate the tree and hide it (hotkey H).
- It will later be used as the wood of the tree.
- The original will be turned into snow.
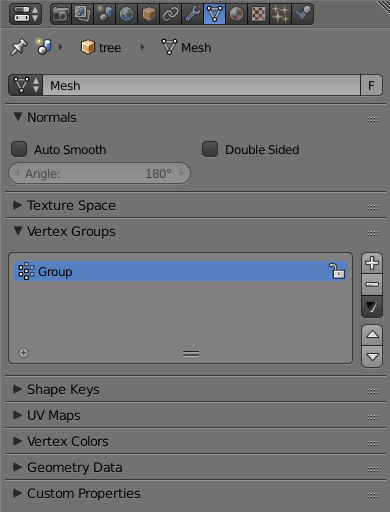
- Add a new vertex group to the original tree mesh.
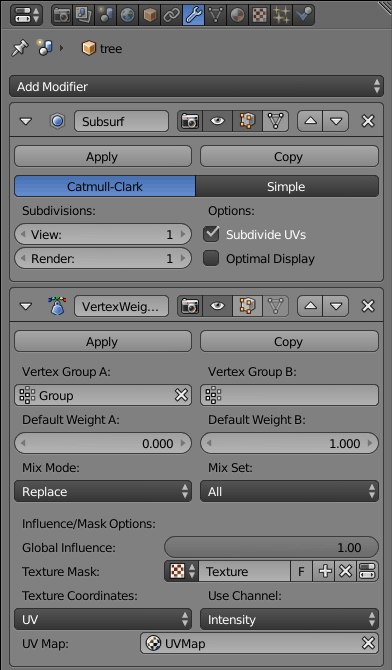
- Add one level of subsurf and then add a VertexWeightMix modifier.
- The
VertexWeightMix modifier is going to take our black and white texture
that we baked earlier, and assign all of the vertices that lie on the
white (high intensity) colored areas
to our new vertex group.
- Set up the settings as shown above.
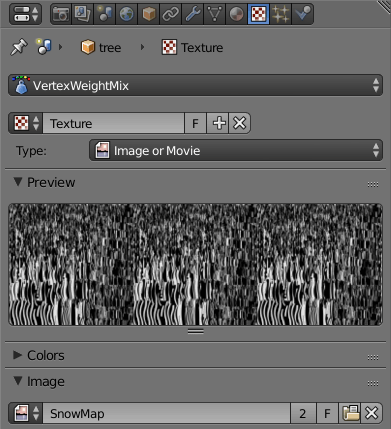
- The Texture Mask should be set up as shown on the right. Choose the image that we baked earlier for the texture.
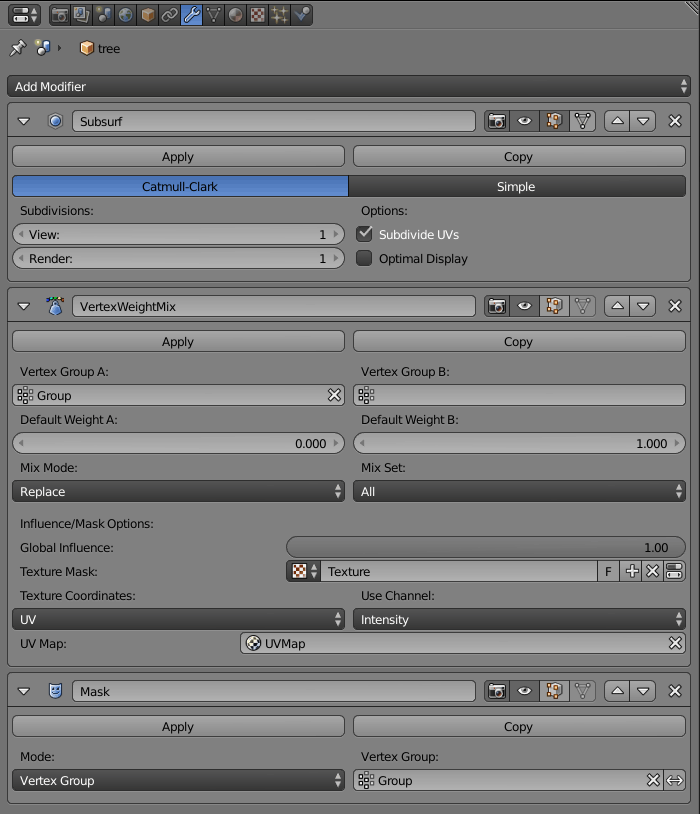
- Lastly, add a Mask modifier and select the vertex group that we made earlier.
- The
mask modifier is going to take the altered vertex group from the
VertexWeightMix modifier and get rid of anything that isn't in that
vertex group (anything that was black on our baked texture).
- The completed modifier setup is shown above.
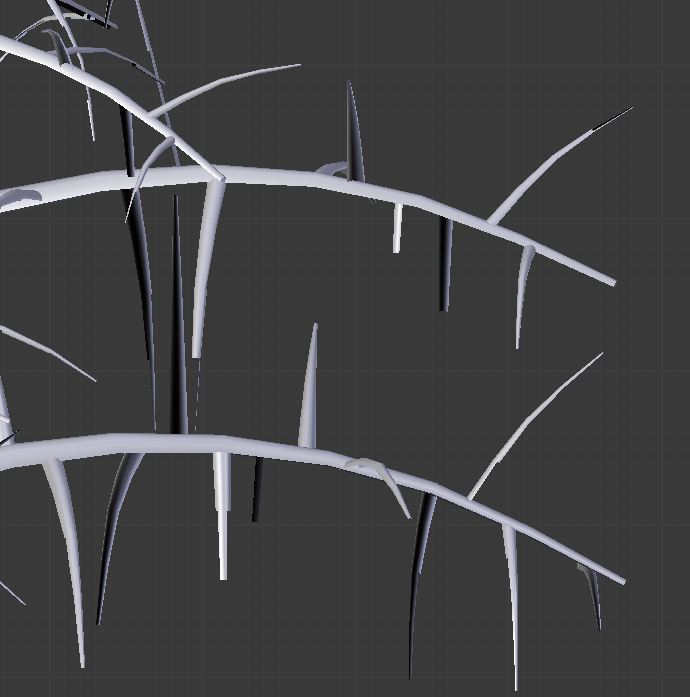
- The result of this step is shown on the right. Only the areas that appeared white in the material setup should be showing.
- Apply the modifiers starting from the top and going down to the bottom, in order.
- Go into the material nodes for the snow mesh and adjust the color ramp this time so that instead of mostly white or black, there is a gradient of values.
- Later, white will be taller piles of snow, and lower value colors will be shorter. Ideally the small ends of branches should be dark gray while the thicker parts remain white.
- My color ramp adjustment is shown on the left, and the result on the right.
- Again, we will bake this material to an image using the same process as before.
- We can bake it to the same image that we used to separate the snow from the tree mesh since we no longer need it, since we've already separated our snow from the rest of the mesh.
- This
time, however, we save the newly baked image.
- Adding a subsurf modifier here is optional, but will give slighly better looking displacement.
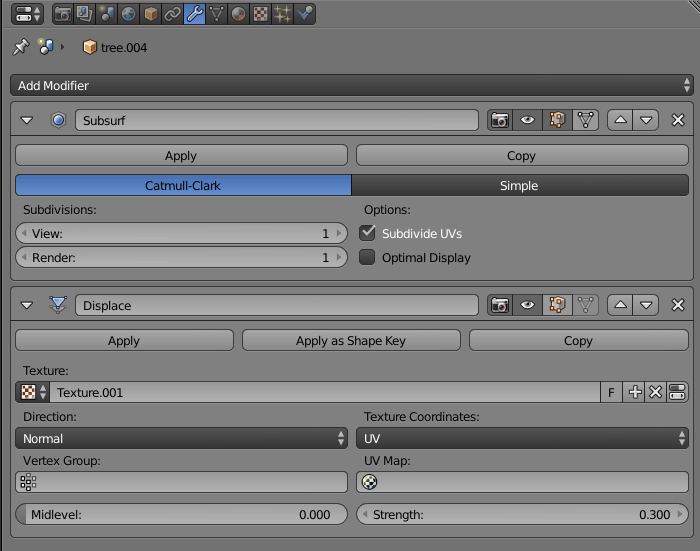
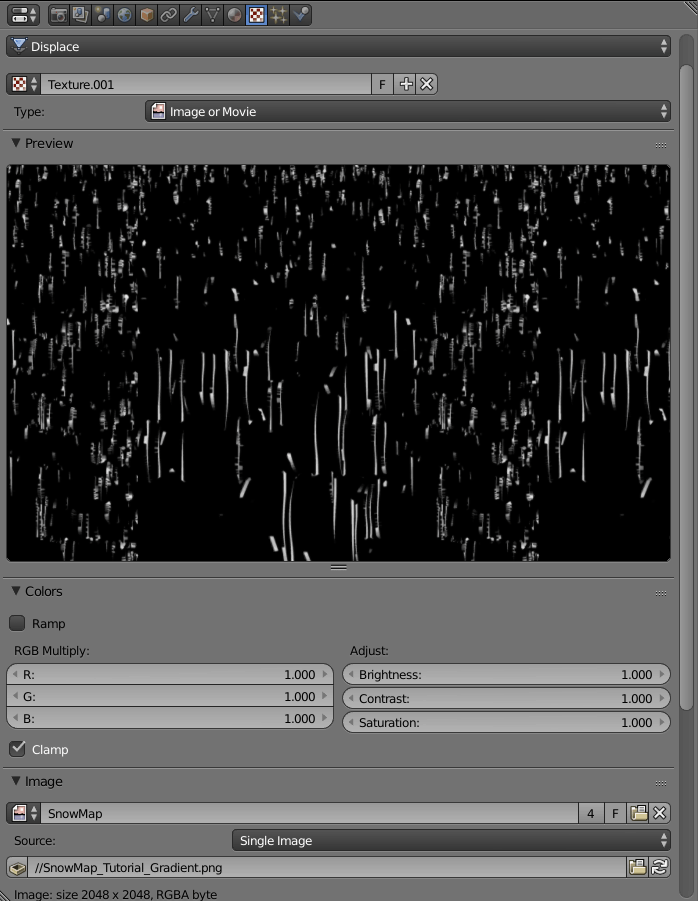
- Add a displacement modifier to the snow mesh as shown above.
- Make sure coordinates are set to UV and that the texture is set to the one we just saved, as shown in the left and middle images.
- Once you unhide the tree mesh that will be used as wood, it should look similar to the image on the right.
Material Setup
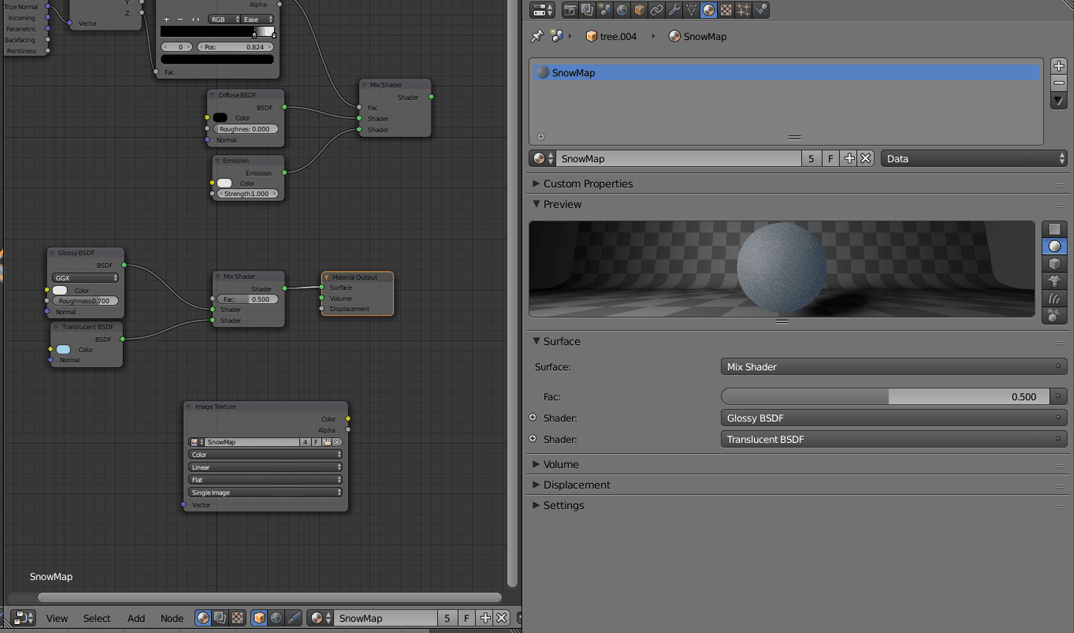
- For a basic snow shader I used a 50:50 glossy and blue transparent shader as shown above.
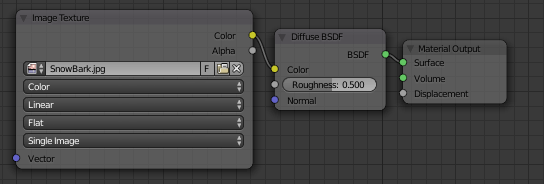
- For a very basic wood shader I used only a diffuse shader with a tileable texture of bark with spots of snow on it.
- Since we unwrapped the whole tree (except the trunk) earlier, the wood mesh should already have UVs ready for textures.
- Unwrap the tree trunk, join it with the wood tree mesh, and add your tileable snowy wood texture.
- Adding
a single seam along one long, vertical edge and unwrapping will work
fine for the trunk. SmartUV will also work.
Cylindrical
unwrapping will work if you change your viewport to front-view.
- A good
resource for finding textures is cgtextures.com
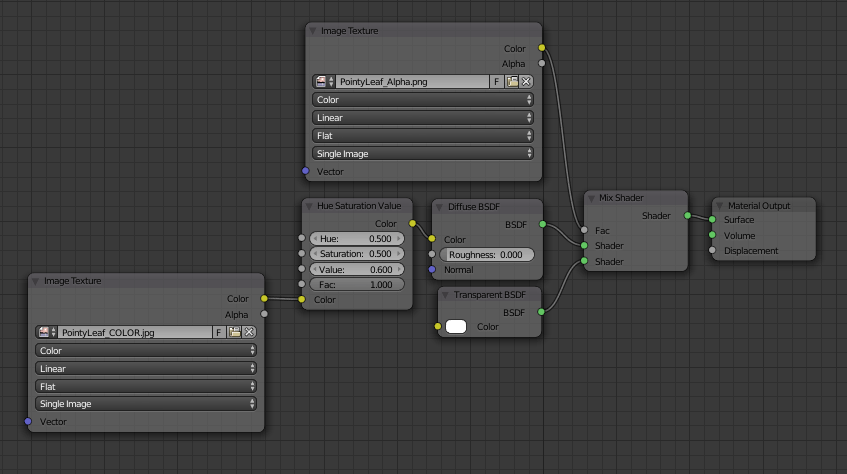
- For a basic leaf shader I combined a transparent and diffuse shader with a black and white alpha map of a leaf.
- Since most downloaded leaf textures will be very green, they can be desaturated with the Hue Saturation Value node to better fit with the winter-time setting.
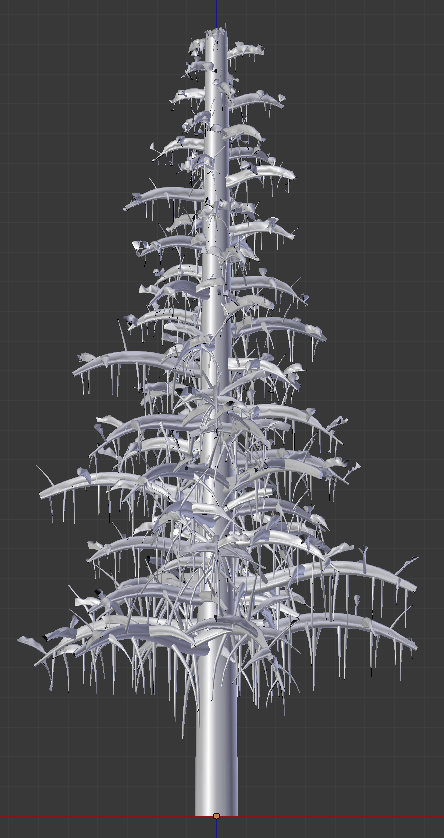
- At this point the snow resting on the branches will look fairly light and flat, so if we want thicker or puffier snow we can do the following:
- Add another displacement modifier to the snow mesh with midlevel set to 0 and with the same texture as the previous displacement modifier. Adjust thickness with the strength value.
- We cannot use the original displacement modifier because that first modifier is displacing geometry based on normals that are mostly facing straight upwards in the positive Z direction, so adjusting strength will only make the snow go taller.
- When we use a new displacement modifier placed immediately after the original modifier, it displaces geometry based on the normals of the displaced geometry from the previous modifier, allowing the mesh to become thicker in all directions, rather than mostly in the Z direction.
- If some branches have no snow and you would like there to be some, we can add another displacement modifier with midlevel set to zero and no texture applied, and set it to a low strength value
- Since there is no texture, all areas of the snow mesh will be displaced by the same amount, including those places where no snow was showing.
- If there is not enough density of branches and snow in the tree, we can duplicate the branches and snow and rotate them around the Z axis.
- This will dramatically increase the poly count.
- If you want the
tree to be bent as if there were strong winds, a lattice modifier can
be applied to everything on the tree at once and then adjusted.